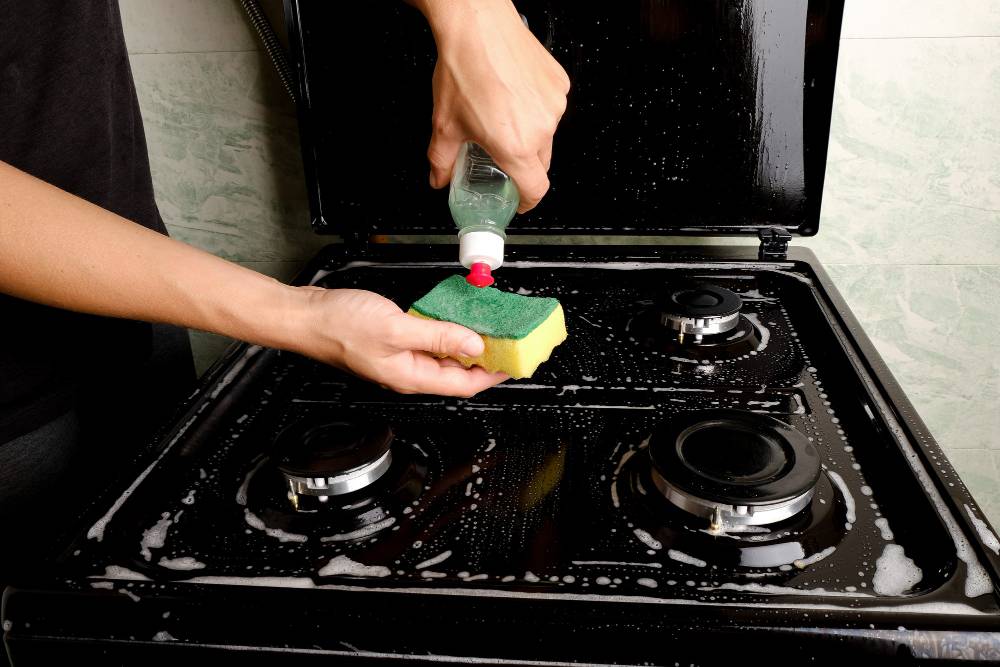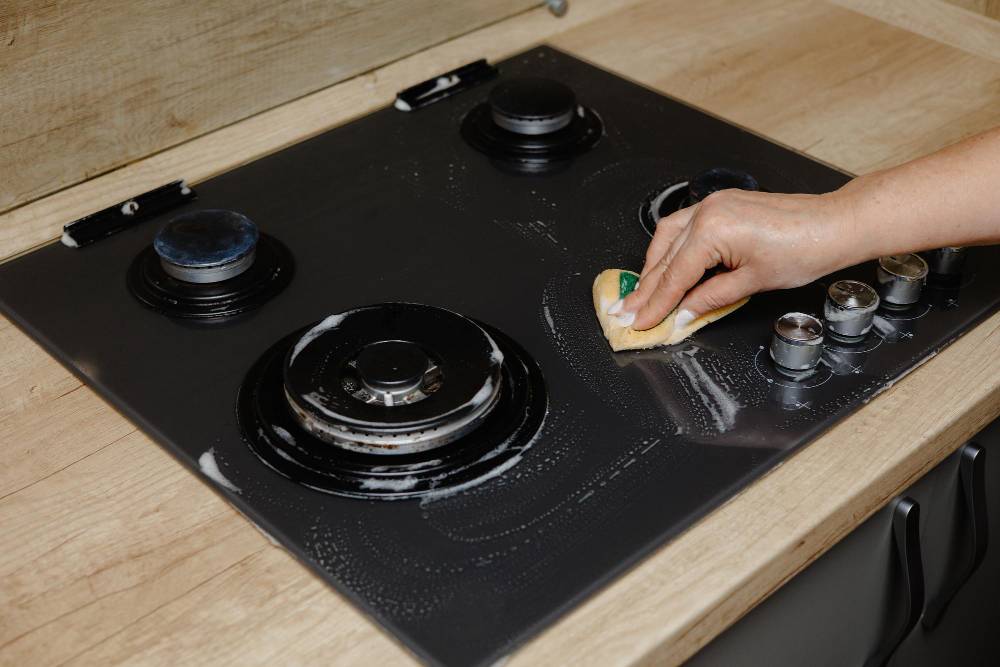
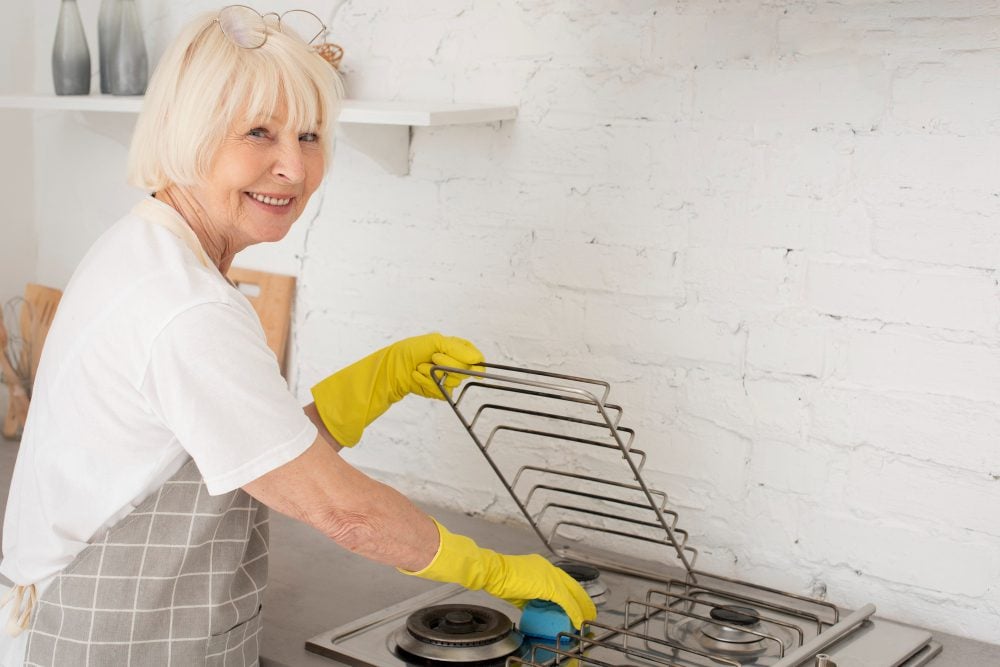
To clean gas stove burner heads and caps safely, turn the gas off and let parts cool. Lift off caps and heads, then soak them for 20 minutes in mild dish soap and hot water. Scrub with a soft brush, clear ports with a straightened paperclip, rinse, and dry fully before reassembling. Avoid using the dishwasher.
A clogged burner is not just a cosmetic issue. When gas does not mix properly with air, the flame can turn yellow or orange. This may indicate incomplete combustion or improper gas-air mixing and should be checked if it persists. So read the flame first, then pick a cleaning method that matches the material of your burner caps. This complete gas stove care guide pulls procedures from major appliance manufacturers including GE, KitchenAid, Whirlpool, Maytag, Bosch, LG, Samsung, Sub-Zero/Wolf, Frigidaire, Viking, and Lacanche, along with real-world user experiences. As of 2026, manufacturer guidance still differs on small details like vinegar use and soaking time, and these differences are often where damage happens.
Key Takeaways
- Always turn off the gas and let burners cool before removing caps or heads.
- A blue, even flame means the burner is healthy. Yellow/orange tips, uneven flames, slow ignition, or soot usually mean the ports are clogged.
- For routine cleaning, a 20-minute soak in hot water + mild dish soap followed by gentle scrubbing is enough for most buildup.
- Use a needle or straightened paperclip to clear clogged ports never force tools or widen the holes.
- Drying is critical: any trapped moisture can stop ignition, cause weak flames, or explain why your gas stove keeps clicking. Air-dry parts fully before reassembly.
- Match the cleaner to the cap material:
- Painted aluminum → dish soap + baking soda only
- Brass → soap for routine cleaning; vinegar mix only for restoration
- Porcelain enamel → mild soap only, no abrasives
- Cast iron → quick wash and immediate drying, no soaking
- Never use dishwashers, oven cleaner, steel wool, WD-40, or wooden toothpicks on burner parts.
- If you smell gas, see persistent yellow flames, or ignition fails, stop DIY work and call a licensed technician.
How do you know if your gas burner is clogged?
Before you take anything apart, light the burner and watch the cone. A healthy flame is mostly blue with a clean inner cone and burns quietly. If you see any of the following, the ports are partly blocked:
- Yellow or orange tips, the classic sign of incomplete combustion.
- Uneven flame, with gaps around the burner ring or flame on one side only.
- Weak or short flame even on the high setting.
- Sluggish ignition, where the igniter clicks four, five, six times before catching.
- Soot or black residue on the bottom of your pots.
If you only see grease on top of the cap but the flame is still a clean blue ring, you’re doing a cosmetic clean. A 20-minute soak and a wipe-down will do it. If the flame is yellow, a persistent clog can affect flame quality and combustion efficiency, so it’s best addressed promptly.
One situation beats everything else here. If you smell gas, leave the area, do not flip light switches, and call your gas utility from outside the house. No cleaning article can help with a leak.
For appliance-related CO risk, community discussions often end with the same caveat: “If you’re uncomfortable, hire a professional gas isn’t DIY for everyone.
What tools do you actually need (and what should you avoid)?
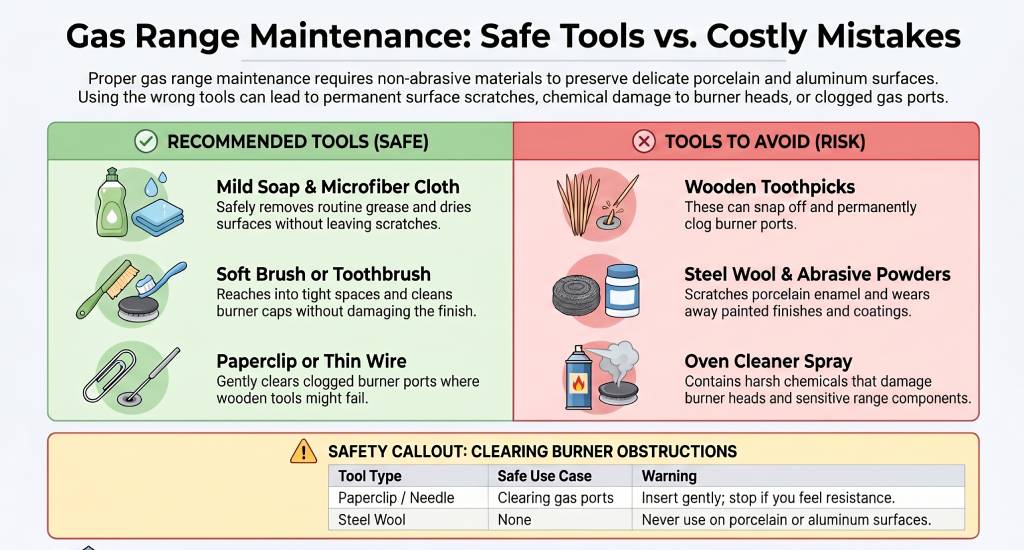
You need fewer tools than most articles suggest:
- Mild dish detergent (Dawn or any non-abrasive liquid soap)
- Hot water in a basin or sink
- Soft-bristle brush, an old toothbrush works
- Non-abrasive scrub pad (blue or white plastic; never green for painted surfaces)
- Microfiber cloth for drying
For port clearing, manufacturers typically suggest simple household tools such as a straightened paperclip, a sewing needle, or a small wire. Always choose a tool that fits easily into the port without forcing it. Whirlpool and Samsung both reference similar approaches in their support guidance. Insert gently, rotate slightly if needed, and remove without applying pressure. If resistance is felt, stop immediately to avoid damaging the port.
- No wooden toothpicks. They snap inside the port and create a lasting clog.
- No steel wool on porcelain enamel or aluminum heads.
- No abrasive powders like Comet on painted caps.
- No oven cleaner near the burner head. Frigidaire advises against this specifically.
What is your burner cap made of (and why does it matter)?
This is the section every other cleaning article skips. It’s also why caps end up ruined. Burner caps come in four main materials. Each needs a different cleaner. A method that’s perfectly safe on solid brass will eat through painted aluminum in one wash.
| Cap material | How to identify | Safe cleaners | NEVER use |
|---|---|---|---|
| Painted aluminum (mid-range stoves) | Light, matte black/grey; chip reveals silver | Mild dish soap, baking soda paste (3:1) | Vinegar, ammonia, lemon, abrasives, dishwasher |
| Solid brass (Lacanche, some Wolf) | Heavy, gold-toned, develops greenish patina | Mild dish soap; for restoration, 2:2 vinegar-water + coarse salt, 1-min boil | Steel wool, oven cleaner, bleach |
| Porcelain enamel (Sub-Zero/Wolf, sealed-burner) | Glossy, ceramic feel, often black with sheen | Mild dish soap, baking soda paste, soft cloth | Steel wool, abrasive pads, dishwasher, self-clean |
| Cast iron (some grates, select caps) | Very heavy, matte black, rough texture | Dry brush + mild soap; do NOT soak | Long soaks, dishwasher, lemon/citric acid |
A real example beats a warning. One homeowner shared how soaking painted aluminum burner caps in undiluted vinegar overnight caused the finish to lift off in patches, leaving the caps permanently mottled. The mistake was applying a brass-cap cleaning method to aluminum hardware.
If you don’t know your cap material, check the owner manual or the manufacturer support page. GE publishes separate pages for brass-cap and aluminum-cap stoves and prescribes different cleaners
Step-by-step: cleaning gas stove burner heads
Follow the order. The safety prep at the start and the dry check at the end are the parts most people rush.
Step 1. Turn off the gas and let everything cool. Tasting Table’s “17 mistakes” piece flags. “Tasting Table: mistakes to avoid cleaning stove burners”. A cap that was on high 20 minutes ago is still hot enough to burn skin. Close the gas shutoff valve if you have one. Otherwise, confirm knobs are OFF.
Step 2. Lift off the grate, the cap, then the burner head. On most sealed burners, the cap lifts straight off, the head lifts off underneath, and the base stays attached. If parts don’t lift freely, don’t pry. Check the manual. Some stoves use a spring clip or screw-down design.
Step 3. Soak in mild dish soap and hot water for 20 minutes. KitchenAid’s 7-step procedure recommends 20+ minutes for moderate buildup. “KitchenAid: how to clean gas stove burners”. GE allows 20–30 minutes. For heavy carbon, extend to 30–60 minutes. Skip the soak entirely for cast iron (Bosch warns it damages the finish
Step 4. Scrub with a soft brush or non-abrasive pad. Focus on the underside of the cap and the rim around the head. For stubborn spots, a 3:1 baking soda paste (KitchenAid’s recipe) lifts most carbon without scratching.
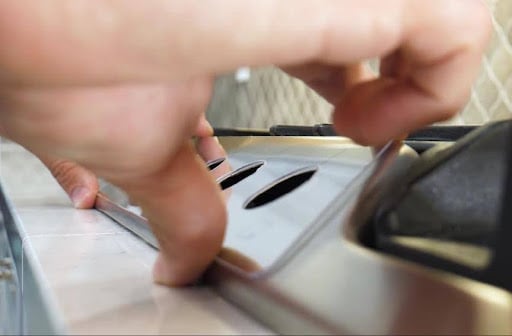
Step 5. Clear the port holes. Hold the head up to the light. Work blocked ports with the smallest wire that fits. Sewing needle first, paperclip if not. Insert, twist gently, withdraw. Don’t pump. Don’t widen the port.
Step 6. Rinse thoroughly and dry completely. This step matters as much as the soak. Any moisture left inside affects ignition. Pat dry with a microfiber cloth, then leave parts on a towel for 10–15 minutes to fully air-dry. Pay attention to the inside of the head where the gas tube enters. Samsung warns: do not let water get into the burner base or brass orifices “Samsung: how to clean your gas cooktop”. A separate r/CleaningTips thread documents a soaked igniter. The burner stopped working until the porcelain casing on the wire dried out 24 hours later. The fix? Cover the igniter with foil during cleaning.
How do you clean burner caps with material?
The procedure depends on the metal. Match it before wetting anything.
Painted aluminum caps (most home stoves). Mild dish soap and warm water. For grease, apply a baking soda paste (3:1 soda to water), sit for 20 minutes, scrub with a soft brush, rinse, dry. No vinegar. A Reddit Bosch PRS9A6B70 owner put it bluntly: aluminum is reactive enough that vinegar lifts the painted finish over repeated exposure.
Solid brass caps (premium ranges). Routine cleaning: mild dish soap and warm water. For oxidation, GE approves a vinegar-water soak, and Lacanche’s owner guide goes further with 2:2 vinegar-water and coarse salt, boiled one minute. Brass darkens over time. That’s patina, not damage.
Porcelain enamel caps (Sub-Zero/Wolf, many sealed-burner stoves). Mild dish soap and a soft cloth. Skip every abrasive. Wolf’s official note: caps and rings have a painted-enamel surface, and spilling on them while hot can permanently stain. That is normal “Sub-Zero/Wolf: clean surface burner caps and rings”.
Cast iron parts. Bosch, Whirlpool, and Viking all converge: do not soak cast iron. Wipe with a damp soapy cloth, rinse quickly, and dry right away. Water contact creates rust. For light surface rust, Viking’s manual approves Bar Keepers Friend with a blue Scotch-Brite pad.
For households where someone has been sick, LG approves a 1:100 bleach-water solution for cap disinfection “LG: how to clean the burner caps”. LG is the only major maker that endorses this specific dilution. Don’t extrapolate.
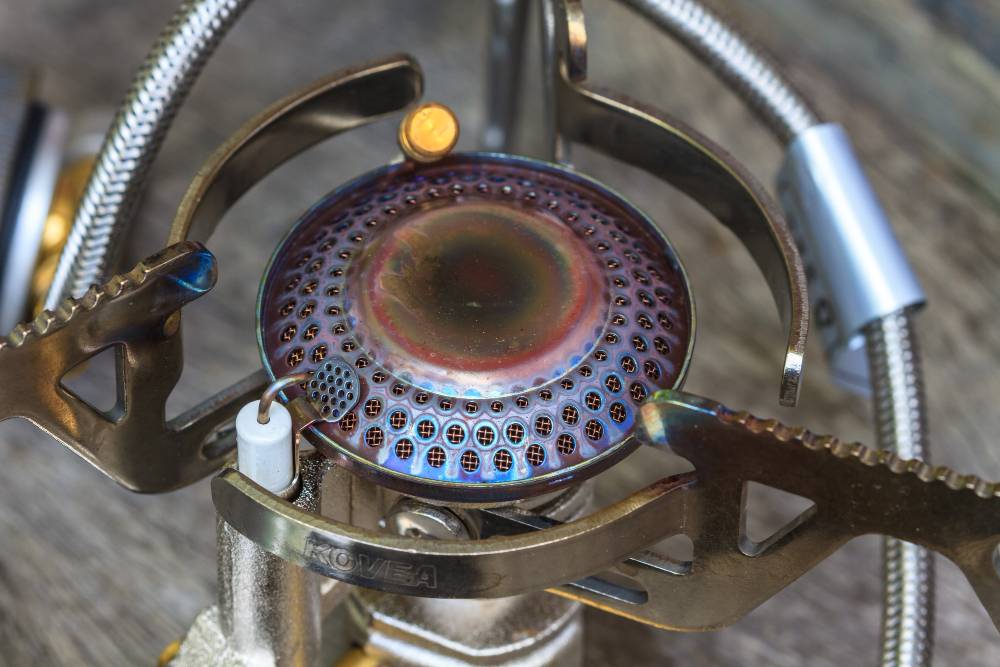
How do you unclog gas burner ports without enlarging them?
This is where damage usually happens. After your 20-minute soak, hold the burner head up to a light source. Each port should be a clean circle. If a port looks fuzzy, partly filled, or smaller than its neighbors, it’s clogged.
To clear it:
- Pick a small wire or tool that fits easily into the port. Start with a fine option like a sewing needle or straightened paperclip. If it does not slide in smoothly, switch to a slightly different tool rather than forcing it. The tool should move in and out without resistance to avoid damaging the port.
- Insert straight, twist a quarter turn, withdraw. Do not push hard. Do not pump in and out.
- Inspect against the light again. The port should now be a clean circle.
- Tap the head firmly upside down on a clean towel to shake loose anything still inside.
If a port still looks deformed or oversized after clearing, the head is damaged. Burner heads are consumable. Order a new one rather than live with a misshapen flame.
The orifice (the small brass jet at the burner base that controls gas flow) is not DIY territory. If the flame stays off after a clean head and ports, the orifice may be the issue, and that’s a licensed gas tech’s job.
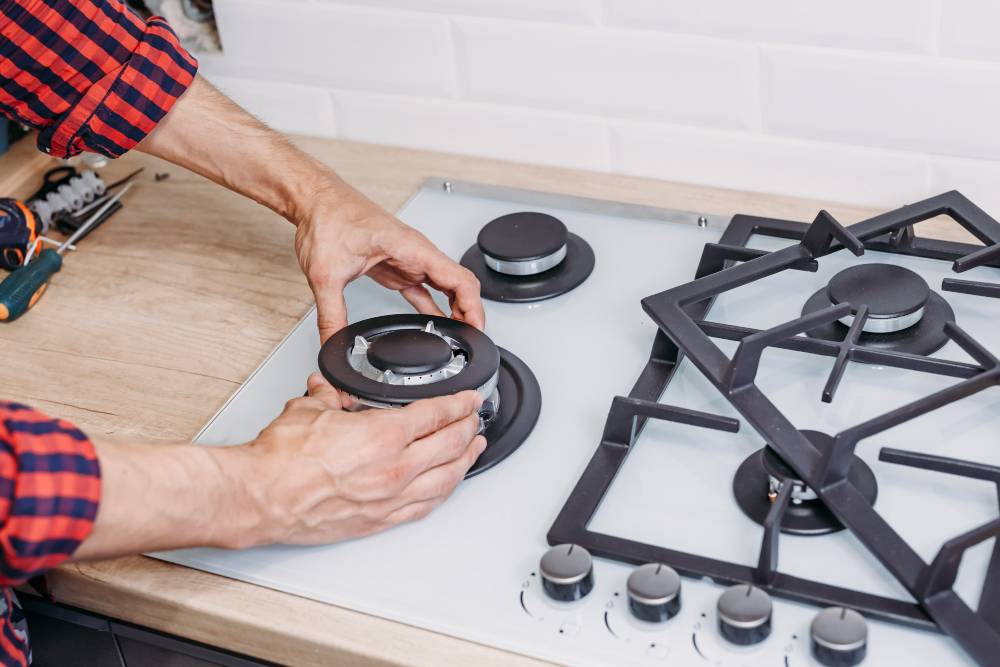
Reassembly check: confirm everything is back in the right place
Most reassembly problems trace to one of three things. A misaligned cap. A bumped igniter. Or a head that didn’t seat on its alignment pin.
The verification sequence:
- Place the burner head on the base. Most heads have an alignment pin underneath that drops into a pinhole on the base. Rotate gently until it seats.
- Confirm the igniter passes through the head’s hole or gap. The igniter is a thin ceramic-cased wire that must be exposed inside the burner ring. If the head covers it, the ignition won’t fire.
- Set the cap on the head. Maytag’s reassembly check is the cleanest test: the cap should sit flush, with very little side-to-side movement. If it rocks more than a millimeter, lift and reseat. The pin hasn’t dropped in.
- Test on the lowest setting first. Look for an even blue ring with no gaps or yellow tips. Then scale up to medium and high.
Which methods should you avoid on burner heads or caps?
Several cleaning methods are commonly discouraged by major appliance manufacturers because they can damage finishes, clog ports, or affect performance. There is very little disagreement across brands on these core cautions.
- Ammonia on aluminum burner heads. GE’s support guidance advises against using ammonia on aluminum components because it can discolor or pit the surface. The ammonia-fume bag method is only intended for specific grates, not burner heads.
- Dishwasher cleaning. Many manufacturers including KitchenAid, Whirlpool, Bosch, Frigidaire, Wolf, and Maytag advise against placing burner caps or heads in the dishwasher, as detergents and high heat cycles can damage protective finishes.
- Self-cleaning oven cycle. Some brands caution against placing burner components inside self-clean modes due to extremely high temperatures that may warp metal or degrade coatings.
- Wooden toothpicks for cleaning ports. Several manufacturers advise avoiding wooden tools because they can break inside the ports and create harder blockages.
- Steel wool on porcelain enamel. Abrasive pads can scratch the surface and leave behind particles that may rust over time.
- Vinegar on aluminum or painted enamel caps. Vinegar can react with certain coatings over repeated use and is generally reserved for specific materials like solid brass.
- Soaking igniters or electrical parts. Igniter components are not waterproof, and moisture can affect ignition performance.
- WD-40, oven cleaners, or strong solvents near burner heads. These can leave residues that are unsafe around open flame and are generally discouraged in appliance manuals.
When should you stop and call a licensed technician?
Three situations are clear escalation points.
- You smell gas, even faintly, after reassembly. Leave the house, call your utility from outside.
- The flame stays yellow or orange after thorough cleaning. Likely a clogged orifice or an air-shutter adjustment issue. Both are pro jobs.
- The igniter doesn’t spark, or sparks but the burner won’t catch. See our gas stove won’t light troubleshooting guide before replacing parts.
The orifice itself is not a DIY part. It’s a precision-machined brass fitting with a calibrated bore. Aggressive cleaning widens the bore. That means too much gas flow, a larger flame, a hotter surface, and a real fire-risk shift. Per Whirlpool, Samsung, and Frigidaire docs, orifice cleaning and air-shutter calibration are licensed-tech work.
Frequently asked questions about cleaning gas burner heads and caps
Can you put burner caps in the dishwasher?
No. Most major US gas-stove manufacturers (including KitchenAid, JennAir, Whirlpool, Wolf, Frigidaire, Bosch, and Maytag) advise against dishwasher use. Detergent chemistry combined with high-heat drying cycles can damage protective finishes on burner caps and dull porcelain enamel surfaces. Hand washing with mild dish soap is recommended.
Can I use vinegar to clean gas burner caps?
It depends on the material. Vinegar is safe on solid brass caps and is endorsed by GE and Lacanche for brass restoration (typically a 2:2 vinegar-water soak). Vinegar is not safe on painted aluminum caps or porcelain enamel. Repeated exposure lifts paint and dulls the surface. If you don’t know your cap material, default to mild dish soap.
What causes a gas burner to clog?
The two most common causes are spilled food carbonizing in the ports during cooking, and grease building up around the cap and dripping into the head. The visible signature is a yellow or orange flame plus uneven flame distribution around the burner ring.
Can I use WD-40 to clean a gas burner?
No. WD-40 is petroleum-based and leaves a flammable residue. Using it on any part of a burner that sees direct flame is unsafe and is banned by Bosch, Frigidaire, and KitchenAid. Use mild dish soap. For stubborn carbon, use baking soda paste.
How often should you clean gas stove burner heads?
Wipe the cooktop and caps weekly with a damp soapy cloth to prevent most buildup. For a full deep clean (caps and heads off, soaked, ports inspected), every one to three months works for a typical household. The trigger is your flame: if it stops being a clean blue, it’s time.
Why is my gas burner flame yellow after cleaning?
The most common reason is a port still partly clogged. Re-inspect against a light. The second is moisture in the head. Let parts fully air-dry before reassembly. If both are ruled out and the flame stays yellow, the issue is likely the orifice or air-shutter calibration, which is licensed-tech territory. Yellow or orange flames can indicate incomplete combustion or improper gas–air mixing and should be checked against manufacturer guidance.
Conclusion
Knowing how to clean gas stove burner heads safely is just one part of a complete gas stove cleaning guide. It comes down to three things. Read the flame. Match the cleaner to the cap material. Verify reassembly with the alignment-pin and flush-cap checks. Mild dish soap, a 20-minute soak, a soft brush, and the smallest wire that fits will handle most routine household cleaning tasks. The remaining 5% (persistent yellow flames, gas smell, igniter failure) belongs to a licensed tech. Respect the cap material and port size, and the same hardware will outlast the rest of your kitchen.
Sources
- GE Appliances: Cleaning Burner Heads and Under the Burner Assembly ammonia warning, basic vs. heavy-duty cleaning procedure
- GE Appliances: Cleaning Your Grates and Burner Caps (incl. brass) brass-specific vinegar method
- KitchenAid: How to Clean Gas Stove Burners in 7 Steps published 7-step procedure, dishwasher and self-clean prohibitions
- Whirlpool: Cleaning Gas Cooktop Burners and Ports wooden-toothpick warning, port-clearing wire types
- Maytag: How to Clean Gas Stove Grates & Burners reassembly flush-and-minimal-movement check
- Bosch: How to Clean Gas Cooktops no-soak guidance for finished surfaces and cast iron
- LG: How to Clean the Burner Caps 1:100 bleach-water cap-cleaning alternative
- Samsung: How to Clean Your Gas Cooktop needle/twist-tie unclog method, water-near-orifice warning
- Sub-Zero/Wolf: Clean Surface Burner Caps and Rings painted-enamel staining guidance
- Frigidaire: Gas Cooktop Ignition Port Cleaning Guide abrasive/oven-cleaner prohibition near ignition port
- Tasting Table: 17 Mistakes to Avoid When Cleaning Stove Burners cool-parts-first guidance, cast-iron exception
- Reddit r/CleaningTips: Clogged Gas Stove Burner community-validated method + when-to-call-a-pro framing