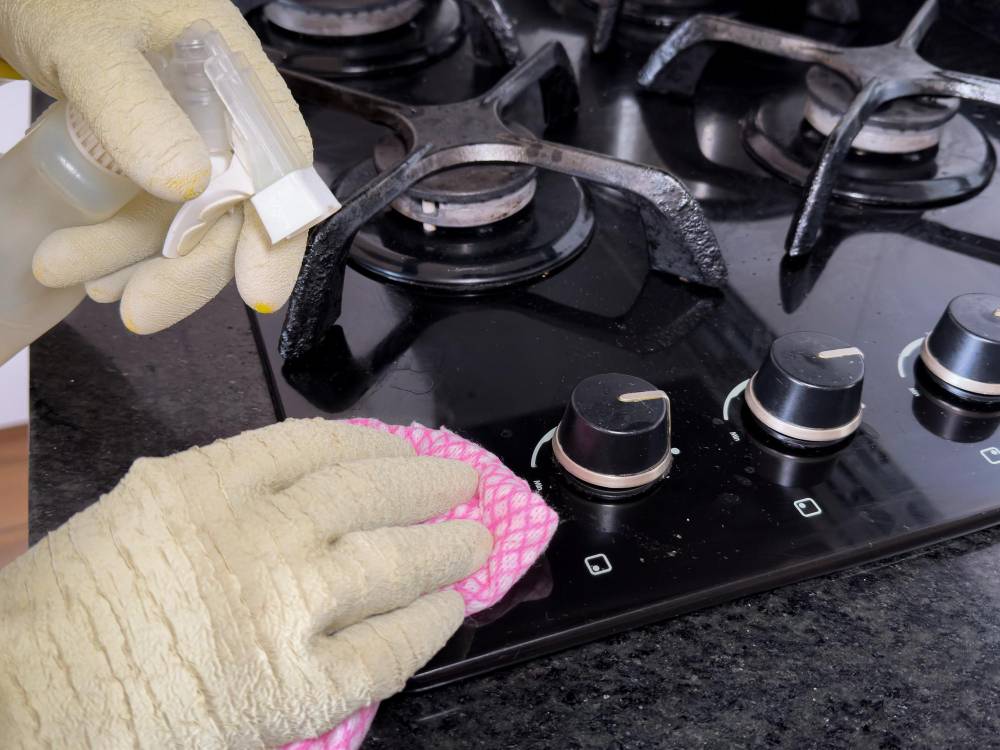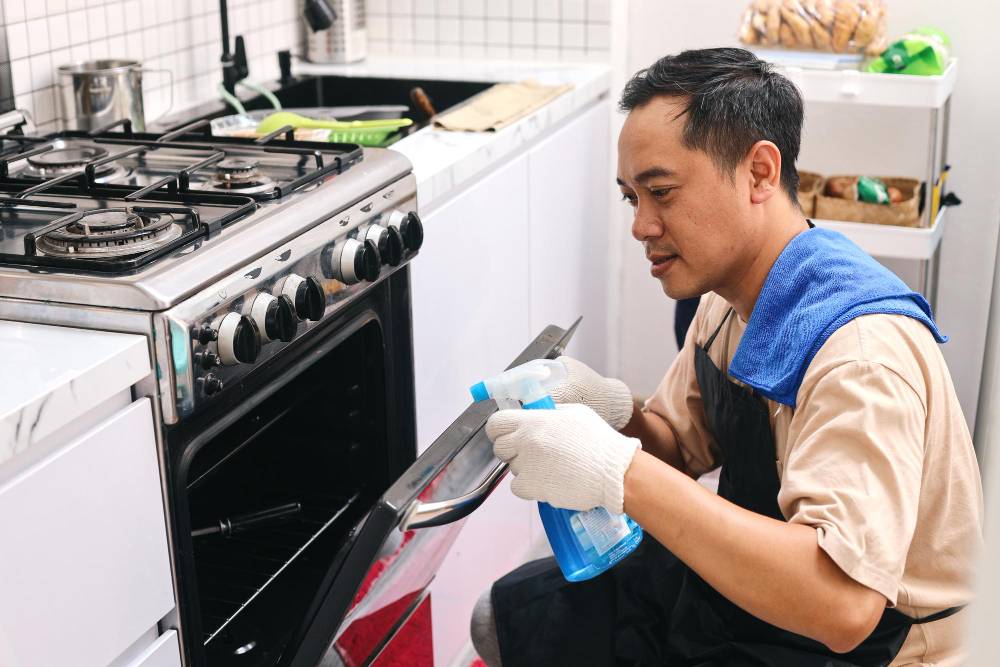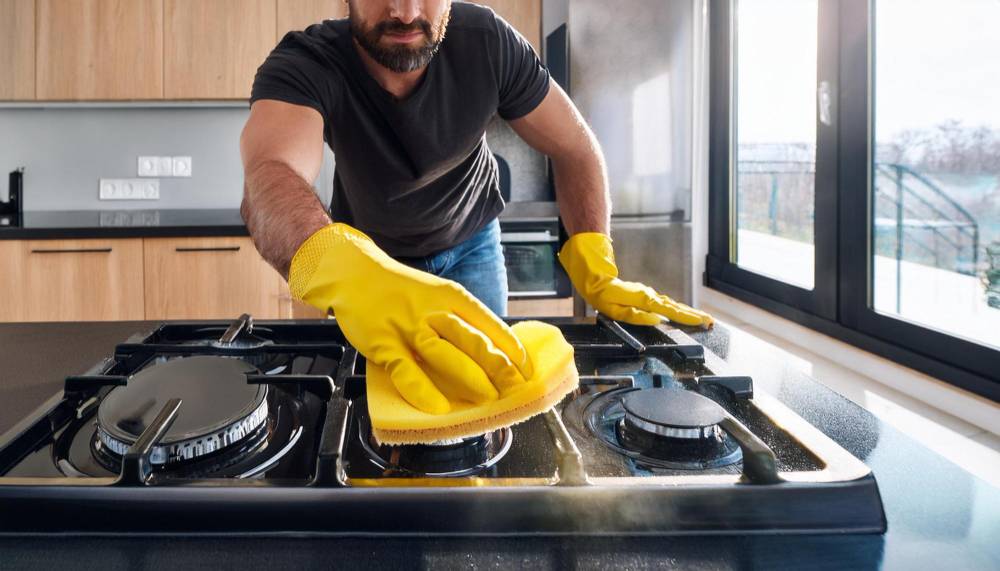

Cleaning the stovetop is often the most time-consuming part of cooking. Grease splatters, sauce spills, and burnt-on residue can quickly build up around the burners, making routine cleanup more difficult than it needs to be. A prevention-first approach can significantly reduce cleaning time by stopping spills from sticking to the stovetop surface in the first place.
Here’s the thing. You don’t have to spend 30, 40, even 45 minutes scrubbing your stovetop after every meal. There’s a smarter approach that busy home cooks are using to turn deep-cleaning sessions into quick 10-minute wipe downs. The secret isn’t a magic cleaning product. It’s preventing the mess from bonding to your stovetop in the first place.
Key Takeaways
- Prevention beats cleaning: A stovetop protector stops messes from bonding to your stovetop surface, turning 45-minute scrub sessions into 2-minute wipe-downs
- Material and thickness matter: Look for PTFE-coated fiberglass protectors at least 0.5mm thick for best durability and performance
- Custom fit is worth it: Protectors designed for your specific stove model provide complete coverage and lie flat without shifting
- The math works out: Time saved on cleaning quickly exceeds the cost of the protector, making this a practical investment for busy home cooks
- Proper care extends life: Hand wash only, dry immediately, and avoid dishwashers to get 12+ months from a quality protector
- Look for strong warranties: Premium brands like Stove Shield offer 365-day warranties, while budget options often have minimal return windows
Why Stovetop Messes Become So Hard to Clean
Understanding why gas stovetops get so grimy helps explain why traditional cleaning takes forever.
When you cook, oil splatters hit your stovetop surface while it’s hot. Boiling pasta water leaves mineral deposits. Sauce bubbles over and immediately starts to caramelize. That heat does something frustrating: it essentially bakes the mess right onto the metal or stainless steel surface.
Once food residue bonds to a hot surface, it goes through a chemical change. Sugars caramelize. Proteins denature. Oils polymerize. What started as a simple splatter becomes a hardened crust that requires serious elbow grease to remove.
This is why wiping up a spill immediately (before it bakes on) takes seconds, but scrubbing the same spill after cooking takes 10 to 15 minutes of real effort. And if you let it sit overnight? You’re looking at soaking, scraping, and probably some choice words muttered under your breath.
The Prevention-First Approach to Stovetop Cleaning
A prevention-first approach reduces the amount of residue that reaches the stovetop surface, making routine cleaning faster and easier.
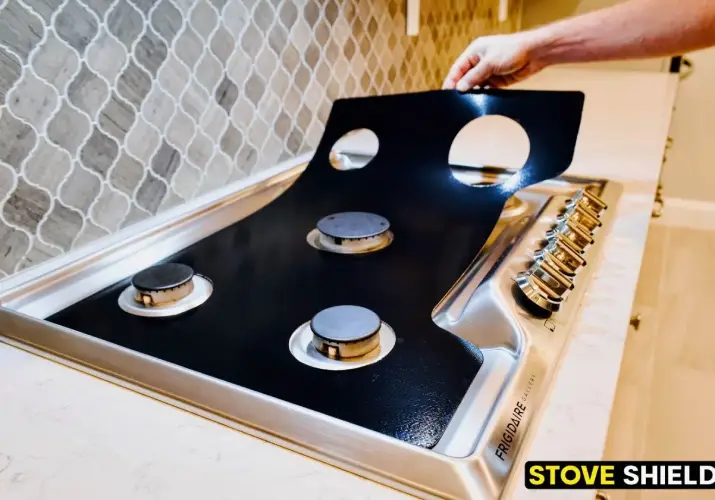
A stovetop protector creates a removable barrier between your cooking messes and the actual stovetop surface. he protector acts as a removable barrier between cooking spills and the stovetop surface.
Here’s how it works:
- The protector sits flat on your stovetop surface, covering the area around your burners
- Spills, splatters, and boil overs land on the protector instead of the metal surface
- Because the mess never bonds to your actual stovetop, cleanup becomes a simple wipe-down
- For bigger messes, you can remove the protector and hand wash it at the sink
The result? A cleaning routine that takes about 10 minutes instead of 45.
How Stovetop Protectors Actually Work
Not all stovetop protectors are created equal, and understanding the materials matters.
Quality protectors are made from non-stick PTFE-coated fiberglass, which gives them several important properties:
Heat Resistance: Good protectors can handle temperatures up to 500 degrees Fahrenheit. This means they won’t melt, warp, or give off fumes during normal cooking.
Non-Stick Surface: The PTFE coating (similar to what’s used on non-stick cookware) means spills don’t bond to the protector the way they bond to bare metal.
Thickness Matters: Thicker protectors (around 0.5-0.6mm) tend to last longer and lie flatter than ultra-thin alternatives. Some budget options are just 0.15-0.3mm thick and tend to curl or shift during cooking.
Custom Fit vs. Universal: Custom-fit protectors are designed for specific stove models, which means proper coverage around all burners. Universal or DIY options often require trimming and may not lie perfectly flat.
Choosing the Right Protector for Your Stove
When shopping for a stovetop protector, here’s what matters:
Check the Fit
The best protectors are designed for your exact stove model. This matters because:
- Burner placement varies between manufacturers and models
- A proper fit means complete coverage without gaps
- Custom-fit designs lie flat and don’t shift during cooking
Popular stove models from KitchenAid, Whirlpool, Bosch, Frigidaire, and Thermador all have different configurations. A protector designed specifically for your model number will always outperform a generic one.
Consider Thickness
Protector thickness affects both durability and performance:
| Thickness | Typical Quality | Expected Lifespan |
|---|---|---|
| 0.15-0.2mm | Budget | 3-6 months |
| 0.3-0.35mm | Mid-range | 6-12 months |
| 0.5mm+ | Premium | 12+ months |
Thicker protectors cost more upfront but typically deliver better value over time.
Look at Shipping Method
Shipping method is another factor worth considering because it can affect how the protector fits after unpacking.
Check the Warranty
A company’s warranty reflects their confidence in their product. Basic options often come with 14-day return windows. Premium brands like Stove Shield offer 365-day warranties, which suggests they stand behind their quality.
The Actual 2-Minute Cleanup Routine
Here’s what cleanup looks like with a stovetop protector in place:
After Each Cooking Session
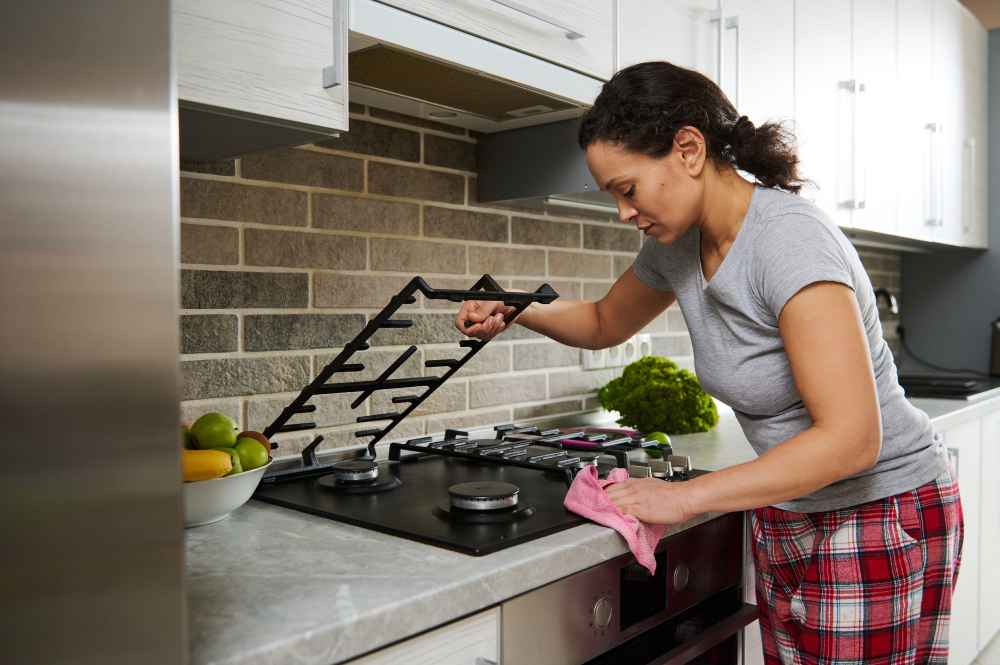
- Let the grates cool down (the protector itself doesn’t get hot and can be touched once the grates are safe)
- Remove the grates and set them aside
- Wipe the non-stick protector surface with a damp cloth or paper towel
- Replace the grates
Daily cleaning is complete once the protector has been wiped down and the grates are replaced.
Weekly Deep Clean
- Remove the grates
- Lift off the protector
- Hand wash the protector at the sink with warm, soapy water
- Wipe down the actual stovetop surface underneath (which should be nearly spotless)
- Dry the protector immediately
- Replace everything
Protector Care and Maintenance
To get the longest life from your stovetop protector, follow these guidelines:
DO:
- Wipe down on the stovetop after each use
- Hand wash at the sink when needed
- Dry immediately after washing
- Wait for grates to cool before removing the protector
DON’T:
- Don’t Put the protector in the dishwasher (the harsh detergents and heat can degrade the material)
- Don’t Soak or submerge the protector (this can affect the coating)
- Don’t Use abrasive scrubbers or steel wool
- Don’t Leave spills sitting for days before cleaning
- Don’t Cook directly on top of the gas stovetop protector (the protector is not cookware)
Following these simple rules, a quality protector should last well over a year with regular use.
Common Mistakes to Avoid
Common issues reported by users include the following:
Buying Too Thin: Ultra-cheap protectors (usually the thinnest options) tend to curl, shift, and need replacement within months. The slight savings aren’t worth the hassle.
Ignoring Fit: A protector that doesn’t match your stove model will not lay entirely flat which allows messes to reach the surface. Always check compatibility with your specific model number.
Dishwasher Use: Despite what some product descriptions claim, the dishwasher is hard on fiberglass and non-stick coating. Hand washing takes an extra minute and dramatically extends product life.
Delayed Cleaning: The protector makes cleaning easier, not optional. Letting heavy buildup sit for weeks can still lead to stubborn residue.
Which Stoves Benefit Most?
While stovetop protectors work with most gas ranges, certain models and situations benefit more than others:
High-Use Kitchens: If you cook daily or have a large family, the time savings add up fast. Saving 10 minutes per cleanup adds up to 5+ hours per month.
Stainless Steel Stovetops: These surfaces show every fingerprint and splatter. A protector keeps the stainless steel looking pristine.
Rental Properties: Protecting a landlord’s appliances helps ensure you get your security deposit back.
New Stoves: Prevention from day one keeps your investment looking new for years.
Popular models that work particularly well with custom-fit protectors include:
- KitchenAid ranges (30″ and 36″ models)
- Whirlpool gas stoves (popular WFGS series)
- Bosch cooktops (36″ and 30″ configurations)
- Frigidaire ranges (including the PCFG series)
- Thermador professional ranges
What Real Users Say
Feedback shared across online communities highlights several recurring observations.
From a Quora thread on gas stove cleaning: “There are many types of gas stoves that require different cleaning methods. detachable parts can be soaked, but the stovetop surface itself is the real challenge.”
Users on Reddit’s CleaningTips forum frequently recommend products like Bar Keeper’s Friend and Magic Erasers for tough stovetop cleaning, noting that even with the best products, “it’s still a lot of elbow grease.”
The consensus? Preventing the mess in the first place beats any cleaning hack.
How Much Time and Money Does This Actually Save?
The following comparison illustrates the potential time savings.
Time Investment Without a Protector:
- Daily wipe-down: 5 minutes
- Weekly scrubbing session: 30-45 minutes
- Monthly deep clean: 60+ minutes
- Annual time spent: ~50 hours
Time Investment With a Protector:
- Daily wipe-down: 2 minutes
- Weekly protector wash: 10 minutes
- Monthly deep clean: 15 minutes
- Annual time spent: ~15 hours
That’s roughly 35 hours per year saved on stovetop cleaning alone. Value that time at even $40/hour, and a $80 protector pays for itself in saved time within a few week.
Conclusion
Kitchen cleanup doesn’t have to eat into your evening. For home cooks tired of spending half an hour scrubbing around burners after every meal, a stovetop protector offers a practical solution that actually works.
The approach is simple: prevent messes from bonding to your stovetop rather than fighting to remove them later. With the right protector in place, your post-cooking routine becomes a quick wipe-down instead of an intensive cleaning session.
If you’re ready to reclaim your time and keep your stovetop looking new, consider investing in a custom-fit protector. Look for options with adequate thickness, proper fit for your stove model, and a warranty that demonstrates quality.
Sources
- America’s Test Kitchen: The Best Way to Clean Your Stovetop – Expert testing of cleaning products and methods for stovetop maintenance
- Quora: What’s the best way to clean a gas stove top? – Community discussion on different gas stove types and cleaning challenges
- Food52: The Ultimate Step-by-Step Guide to a Clean Stove – Comprehensive cleaning guide covering gas, electric, and induction stovetops
- Maytag: How to Easily Clean Gas Stove Grates & Burners – Manufacturer guidance on proper stovetop cleaning techniques
- Lowes: How to Clean Your Cooktop or Stove Top – Retailer guide covering tools and cleaners for different cooktop types
- GE Appliances: Gas Range & Cooktop Cleaning – Official manufacturer cleaning instructions for gas range components