
Whirlpool gas stove care comes down to a fast wipe-down after every meal, a weekly soak and scrub of the grates and burner caps, and a monthly look at the flame and burner ports. The brand-specific catch: dishwasher safe grates are a feature on select models only, so check your manual before you wet anything.
A Whirlpool gas range is built to be cleaned, not babied. The grates lift, the burner caps pop off, and the parts are cheap to replace. The trouble is that most owners clean a Whirlpool the way they’d clean any stove and a few of those generic habits will dull a great finish or leave a burner clicking for a week. This guide sticks to what’s specific to Whirlpool: AccuSimmer burners, EZ-2 Lift grates, the porcelain-versus-cast-iron rules, and the failures that tend to show up around the five-to-ten-year mark. For broader maintenance routines that apply across brands and stove types, see our general stove care reference.
Key Takeaways
- Clean the cooktop after every meal and deep clean burners and grates weekly.
- Check your manual before placing Whirlpool grates in the dishwasher.
- Keep burner ports clear and ensure burner caps are completely dry before reassembly.
- Blue flames indicate proper operation; yellow or orange flames usually signal cleaning or airflow issues.
- Most persistent clicking problems are caused by moisture or incorrectly seated burner caps.
- Inspect the gas connection and burner performance monthly for safe operation.
- Use a stovetop protector to reduce cleanup between deep cleanings.
What’s actually on your Whirlpool gas range?
Most Whirlpool gas ranges and cooktops sold in the U.S. share the same handful of parts, whatever the trim. Knowing them by name makes every later step faster.
- Product lines. You’ll see plain Whirlpool and older Whirlpool Gold badging. “Gold” was the premium trim on earlier ranges; current models drop the name and use feature labels instead. Most freestanding ranges are 30 inches; cooktops come in 30 and 36-inch widths.
- Burners. Current ranges use sealed surface burners; the burner base is fixed to the cooktop and spills stay on top instead of dripping into the chassis. Many models add an AccuSimmer burner that throttles down for low, even heat on sauces, and some add a high-output SpeedHeat™ burner for fast boils.
- Grates and caps. Whirlpool uses cast-iron grates with either a porcelain-enamel coating or a bare cast finish, plus removable burner caps. Higher trims get the hinged EZ-2 Lift Cast-Iron Grates that tip up for cleaning.
- Ignition. An electronic igniter sparks the burner when you turn a knob to LITE. There’s no pilot light to relight on most modern units.
If you’re not sure which features your range has, the owner’s manual is the source of truth and you’ll need your model number to pull it, which we cover near the end.
How do you clean a Whirlpool gas stove after every meal?
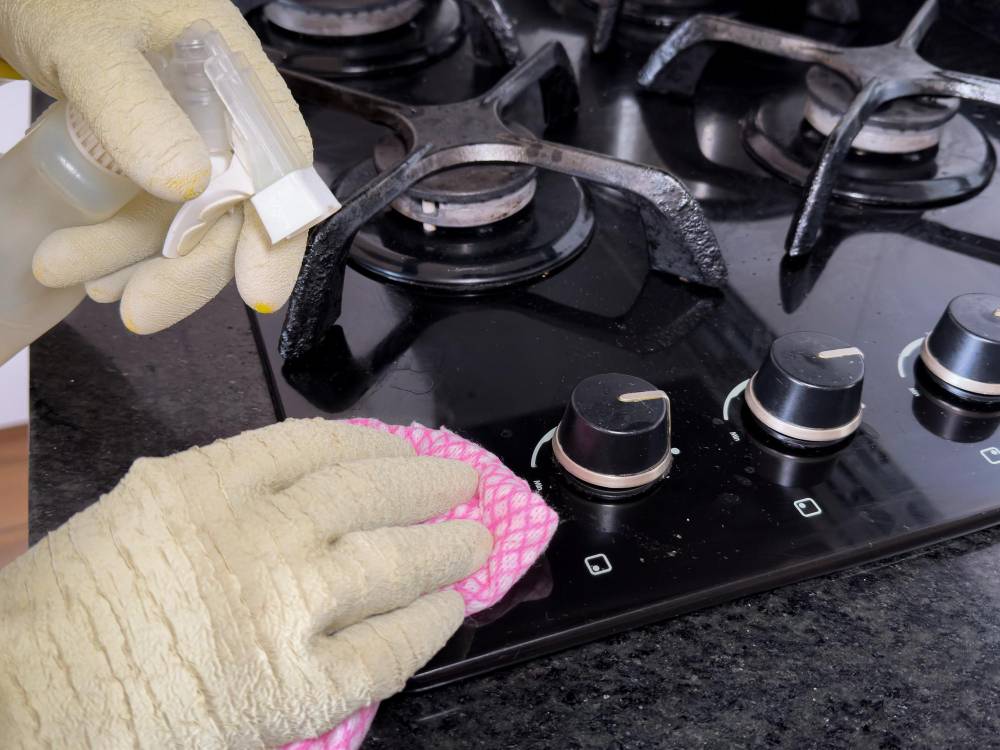
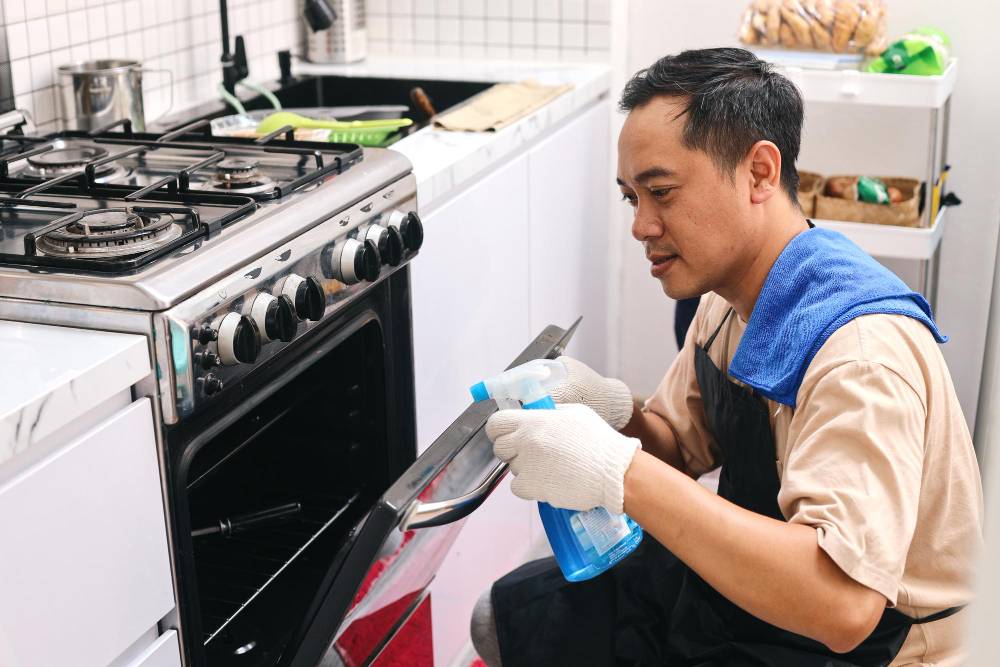
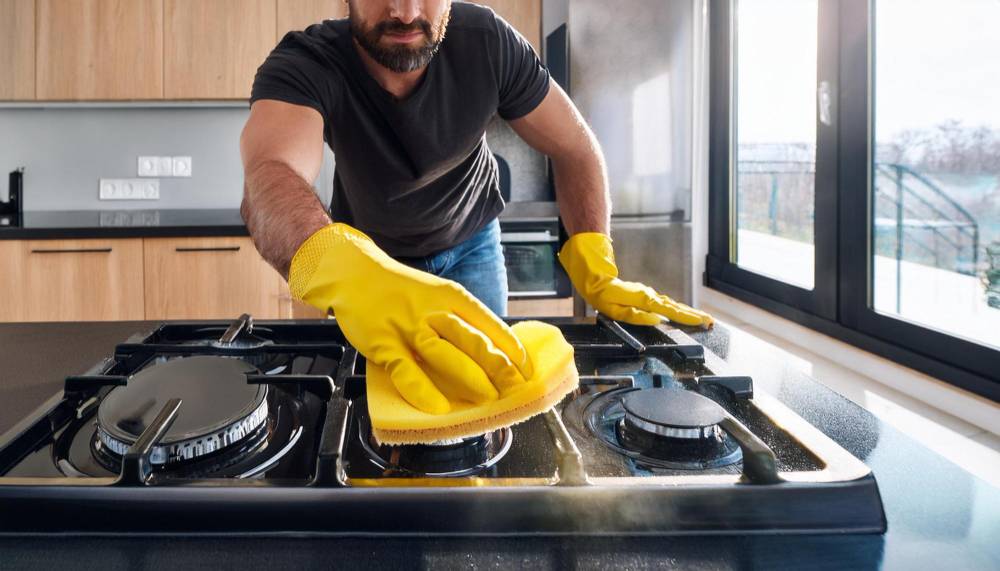
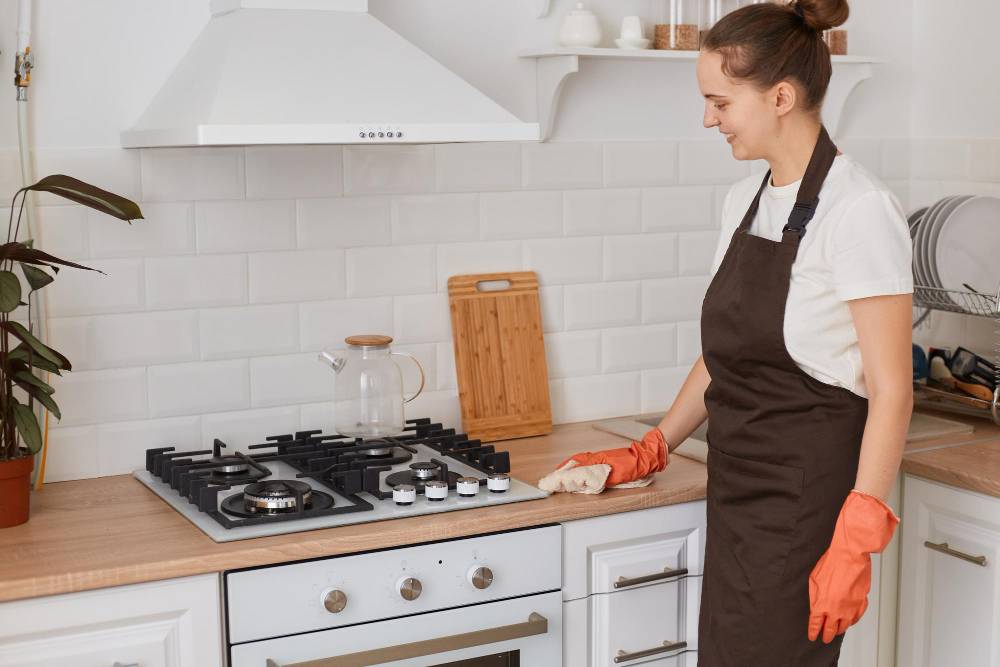
The daily routine is short on purpose. Once the surface is cool, wipe the cooktop and the grates with a damp cloth or a non-abrasive pad and a little dish soap. For a fresh splatter, that’s all it takes. Whirlpool’s own guidance is to clean acid spills tomato sauce, vinegar, and citrus as soon as the surface cools, because those can mark a porcelain-coated grate or cap if they sit.
Two rules that protect the finish from day one skip the oven cleaners, bleach, and rust removers, and keep cleaning agents out of the burner ports. A daily wipe is mostly about not letting sugar and grease bake on, which is what eventually forces the harder weekly clean.
How do you deep clean Whirlpool grates and burners each week?
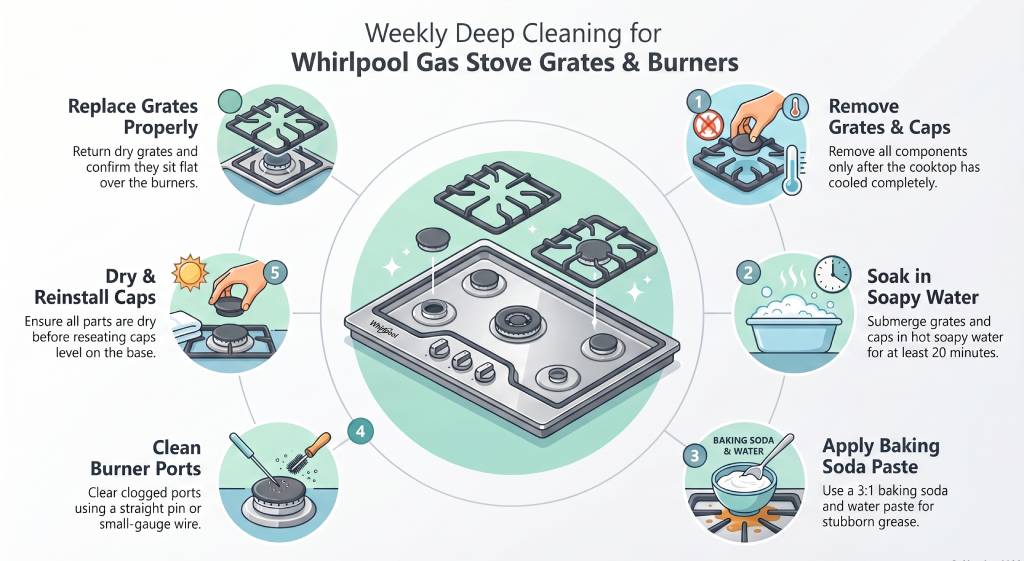
Before starting the weekly deep clean, follow our full gas stove top cleaning method for a complete step-by-step process covering the cooktop surface, burner caps, grates, and safe cleaning products. This is the same six-step sequence Whirlpool publishes for its gas cooktops, with the brand-specific cautions kept in.
- Remove the grates and caps once everything is cool. A few models need a screwdriver to free the caps. If you have an older range with a standing pilot, shut the gas valve first.
- Soak the caps and grates in hot, soapy water for at least 20 minutes. One exception matters: uncoated cast iron should not be soaked unless it’s coated or seasoned water sitting on bare cast iron invites rust. If you’re unsure which you have, check the manual. For the safest cleaning methods and long-term rust prevention, see our cast iron grate cleaning guide.
- Make a baking-soda paste for stubborn spots: three parts baking soda to one part water, coat the grates, and wait about 20 minutes.
- Clean the burners and clear the ports. Wipe the burner base with a non-abrasive pad, then clear any clogged port with a straight pin, needle, or small-gauge wire. Whirlpool is explicit here: never use a wooden toothpick (it can snap off inside the port) and never run the burner parts through the dishwasher unless your manual says they’re dishwasher-safe. Don’t widen the hole; a distorted port changes the flame.
- Dry and reseat the caps. Everything has to go back dry. A wet cap is the number-one cause of a burner that clicks and won’t light. Set each cap level and flush on its base; if your model uses screws, snug them.
- Return the grates. Dry them, set them back over the burners, and confirm they sit flat.
What monthly maintenance keeps a Whirlpool gas range running right?
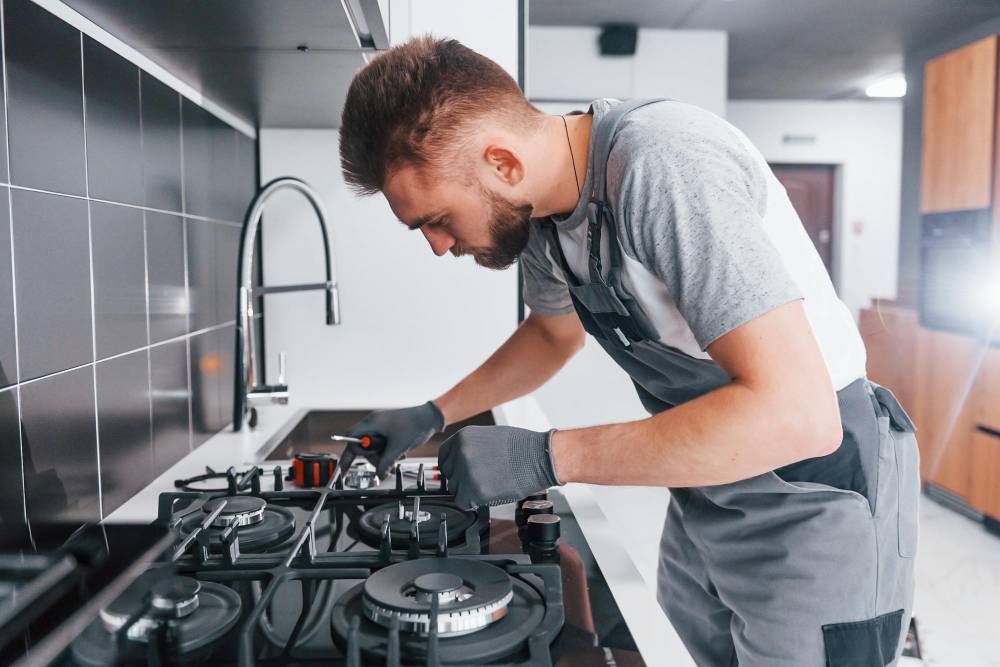
Cleaning keeps a stove looking good; maintenance keeps it safe and accurate. Once a month, run a quick check:
- Read the flame. A healthy gas flame is blue. A yellow or orange flame usually means a dirty port, poor air supply, or spills burning off the surface clean the burner and it should go back to blue.
- Check cap seating. Confirm each burner cap is level. A cap knocked out of place is the quiet cause behind uneven flames and ignition that won’t catch.
- Inspect the gas connection. Look at the supply line for kinks or wear. If you ever smell gas, don’t troubleshoot, turn off the burners, ventilate, leave, and call your gas utility from outside.
- Calibrate the oven if it’s drifting. If your baking runs hot or cold, Whirlpool ranges let you adjust the oven temperature offset from the control panel; the key sequence is in your model’s manual.
Industry maintenance checklists also recommend a professional inspection of the gas line and ignition system roughly once a year. That’s the one job worth handing to a tech rather than DIY-ing.
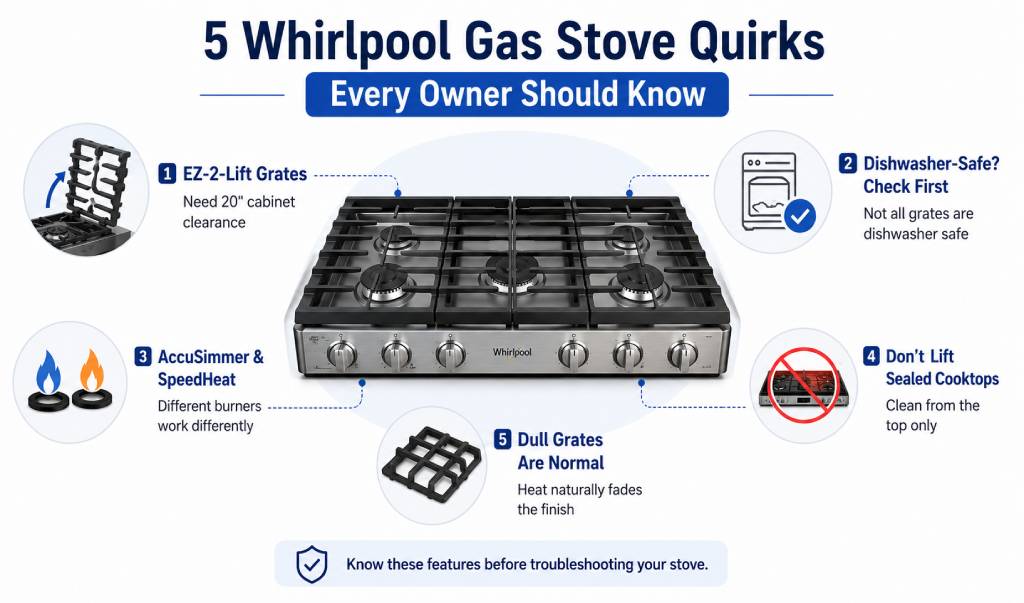
Which Whirlpool-specific quirks should every owner know?
This is where a Whirlpool stops behaving like a generic stove. These are the details that trip up owners who clean on autopilot.
- EZ-2-Lift grates need headroom. The hinged grates pivot up and toward the back and lock in a vertical position so you can wipe underneath without lifting them off. They need a 20-inch (50.8 cm) minimum clearance between the countertop and the bottom of your upper cabinets to swing fully open, worth knowing before you assume they’ll clear a low microhood. When you reattach a removed grate, keep it angled above the cooktop until the slot seats on the hinge pin, or you’ll scratch the surface.
- “Dishwasher-safe” is a feature, not a guarantee. Only select Whirlpool gas cooktops ship with Dishwasher-Safe Cast-Iron Grates. On those, scrape off burnt food and run them on the lowest rack. On everything else porcelain-coated grates and caps, and bare cast iron the dishwasher and the oven’s self-clean cycle are off-limits. Running the wrong grate through either is the fastest way to ruin the finish, and it’s the single most common Whirlpool care mistake I see owners make.
- AccuSimmer and SpeedHeat are heat tools, not problems. If a burner won’t hold a true low simmer, you may be on a standard burner rather than the AccuSimmer; if one boils water alarmingly fast, that’s the SpeedHeat doing its job. Match the pot to the burner before you assume something’s wrong.
- Don’t lift the cooktop on sealed-burner models. Whirlpool warns specifically against it, prying up a sealed cooktop can damage the range and throw off how the burners seat. There’s no need to get under it; everything cleans from the top.
- Grates dull over time, and that’s normal. Cast-iron grates “gradually lose their shine due to exposure to high temperatures,” in Whirlpool’s words. A grey, matte grate isn’t failing when it’s aged. Reseasoning or replacement is cosmetic, not urgent.
What are the most common Whirlpool gas stove problems (and fixes)?
Most Whirlpool gas issues are cleaning problems in disguise. Here’s what tends to show up and where to start.
| Problem | Most likely cause on a Whirlpool | First fix |
|---|---|---|
| Burner keeps clicking and won’t stop | Wet or misaligned burner cap, debris in the port, or a knob left at LITE | Dry and reseat the cap level; clear the port with a pin; confirm the knob is turned past LITE. |
| Burner won’t light at all | Cap not seated, clogged port, or no spark to that igniter | Reseat the cap, clean the port; if there’s spark but no flame. |
| Yellow or orange flame | Dirty ports, poor air supply, or spills burning off | Deep clean the burner and ports; the flame should return to blue |
| Grate finish looks dull or worn | Normal high-heat aging, or acid spills left to sit | Wipe acid spills when cool; reseasoning is cosmetic only |
| Oven bakes hot or cold | Calibration drift over the years | Adjust the oven temperature offset from the control panel (see your manual) |
If your Whirlpool burner still won’t ignite after cleaning the ports and reseating the burner cap, follow our diagnostic walkthrough to troubleshoot igniters, spark modules, gas supply, and other common ignition problems
One reassurance on clicking it is completely normal for all of your burners to click when any one knob is first turned to LITE, that’s how Whirlpool’s ignition is wired. The clicking should stop within a few seconds once that burner lights and you move the knob off LITE. Clicking that won’t quit is the real fault, and it’s almost always a cap that’s wet or sitting crooked after cleaning.
If the clicking continues after the burner is dry and properly seated, use our clicking diagnostic to identify moisture, ignition switch, spark module, and burner-cap alignment issues.
How do you protect a Whirlpool gas stovetop between cleanings?
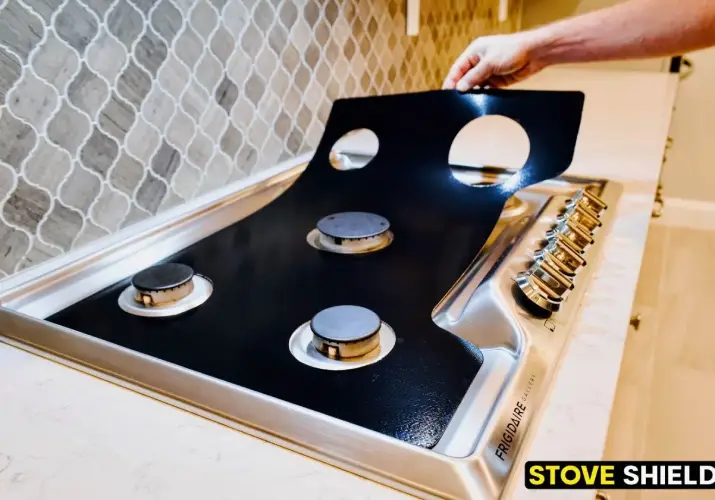
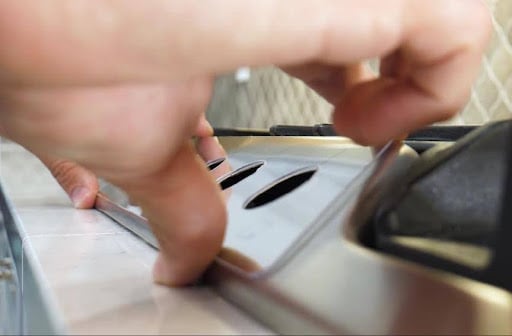
Even a fast-cleaning range collects boil-overs and grease in the corners you can’t reach with a daily wipe. A properly fitted stovetop protector, a thin, heat-tolerant liner cut around the burners catches that mess so you wipe a sheet instead of scrubbing the cooktop. On a standard Whirlpool sealed-burner gas range, a protector sits flat on the surface and lifts out for cleaning; just keep it trimmed to the burner layout and clear of the flame.
A few honest caveats. A liner is a between-cleaning convenience, not a replacement for clearing the burner ports. And fit is brand- and model-specific: Whirlpool’s burner spacing and any hinged-grate hardware can affect where a liner can sit. If you know your exact model, explore Whirlpool stove protectors designed for a precise fit.
Where is the model number on a Whirlpool gas range?
You’ll want the model number for parts, manuals, and warranty checks. If you don’t know where to find it, locate your Whirlpool model number before ordering replacement parts or accessories. Once you’ve identified your model, such as WFG505M0MS0, WFG320M0MS0, or WEG745H0FS0, you can explore Whirlpool stove protectors designed specifically for your range. On most Whirlpool gas ranges it’s on a rating plate in one of two places:
- Behind the storage or broiler drawer open or remove the bottom drawer and look at the frame.
- On the front frame behind the oven door usually along the left or right edge.
Once you have it, Whirlpool’s ownership portal at whirlpool.com/services/ownership pulls your exact manual and parts list.
Whirlpool gas stove care FAQs
Are Whirlpool gas stove grates dishwashers safe?
Only on select models. Some Whirlpool gas cooktops have Dishwasher-Safe Cast-Iron Grates scrape off food and run them on the lowest rack. Porcelain-coated grates, burner caps, and uncoated cast iron should be hand-washed and kept out of the self-clean cycle. Check your owner’s manual before the dishwasher.
Why does my Whirlpool gas stove keep clicking after it lights?
A burner that keeps clicking is almost always a burner cap that’s wet or sitting crooked, or a bit of food in the port. Dry the cap, reseat it level, and clear the port with a pin. Remember that all burners clicking the moment you turn one knob to LITE is normal; it should stop once the burner catches.
Can I use Dawn dish soap to clean my Whirlpool gas stove?
Yes. Plain dish soap and warm water is exactly what Whirlpool recommends for the cooktop, grates, and caps. Save abrasive cleaners for stuck-on spots, and never use oven cleaner, bleach, or rust remover on the burners.
Why is my Whirlpool gas burner flame yellow or orange?
A yellow or orange flame points to dirty burner ports, weak air supply, or spills burning off the surface. Deep clean the burner and clear the ports with a pin; a correctly burning Whirlpool flame is blue.
How often should I clean a Whirlpool gas stove?
Quick wipe after each use while the surface is cool, and a deeper grate-and-burner clean about once a week. A monthly flame-and-port check rounds it out.
How we put this guide together
The cleaning steps, flame guidance, grate rules, and ignition behavior here are drawn from Whirlpool’s own owner’s manuals (including W11508816 and W11508721), the Whirlpool cleaning blog, and product help. The maintenance cadence reflects standard gas-range checklists. Whirlpool’s behavior is model-specific dishwasher-safe grates, AccuSimmer burners — we say so rather than generalize, and we point you to your manual for the final word.
Sources
- Whirlpool How to Clean Gas Stove Top Grates and Burners (whirlpool.com)
- Whirlpool gas range owner’s manuals W11508816 and W11508721, and cooktop manual for model WCG55US0HB
- Product Help Whirlpool Cleaning Gas Cooktop Burners and Ports (producthelp.whirlpool.com)
- Whirlpool product page, model WCG55US6HB (AccuSimmer / EZ-2-Lift)
- Whirlpool ownership and support portal (whirlpool.com/services/ownership)